
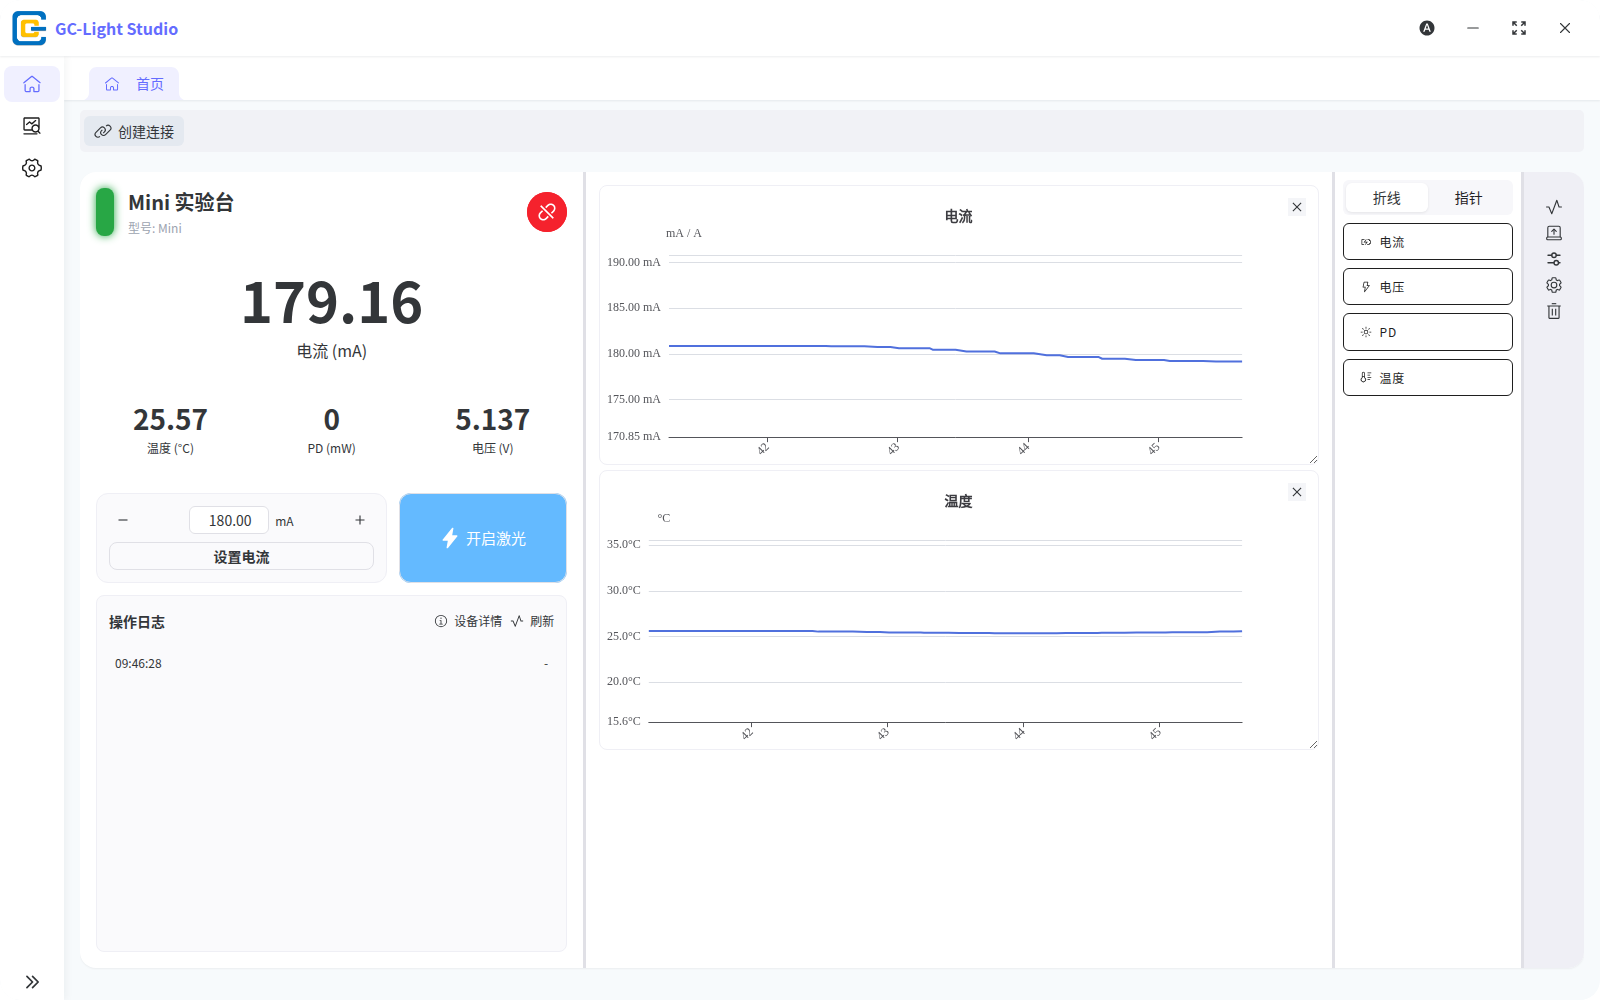
Before you begin
GC-Light Studio is the desktop application delivered as an installable package. This guide covers operations that an end user can perform in the current interface. It applies to the single-file Windows EXE and the Ubuntu DEB package.
Prepare the following:
- a supported Mini device;
- a USB cable that carries data;
- a Windows PC or a 64-bit x86 Ubuntu computer;
- permission to install software and access serial ports.
Installation and first launch
Windows · EXE
- Open Downloads → GC-Light Studio on this website and download the latest Windows package.
- Double-click the downloaded
.exeto run it directly. - On first launch, open Settings and confirm the installed version. Use Check for updates when needed.
- If Windows shows a source or reputation warning, continue only after verifying that the file came from the official GC Light download page.
Ubuntu · DEB
The current Linux package targets amd64 and requires glibc 2.34 or later. Install the local package through APT so dependencies are handled with it:
sudo apt install ./GC-Light-Studio_*.deb
If your account cannot access serial ports, add it to the dialout group:
sudo usermod -aG dialout $USER
Then sign out of the Ubuntu desktop session completely and sign back in. Closing a terminal alone does not refresh group membership. Reconnect the Mini and launch GC-Light Studio again.
Create your first connection
- Connect the Mini to the computer with a data cable and wait for the serial port to appear.
- Select Create connection on the Home page.
- Keep the default Automatic scan mode and wait for a Mini result.
- Verify its port, SN, and version, select it, and create the connection.
- When the connection card appears, select its connect button. Creating a saved connection does not claim the port automatically.
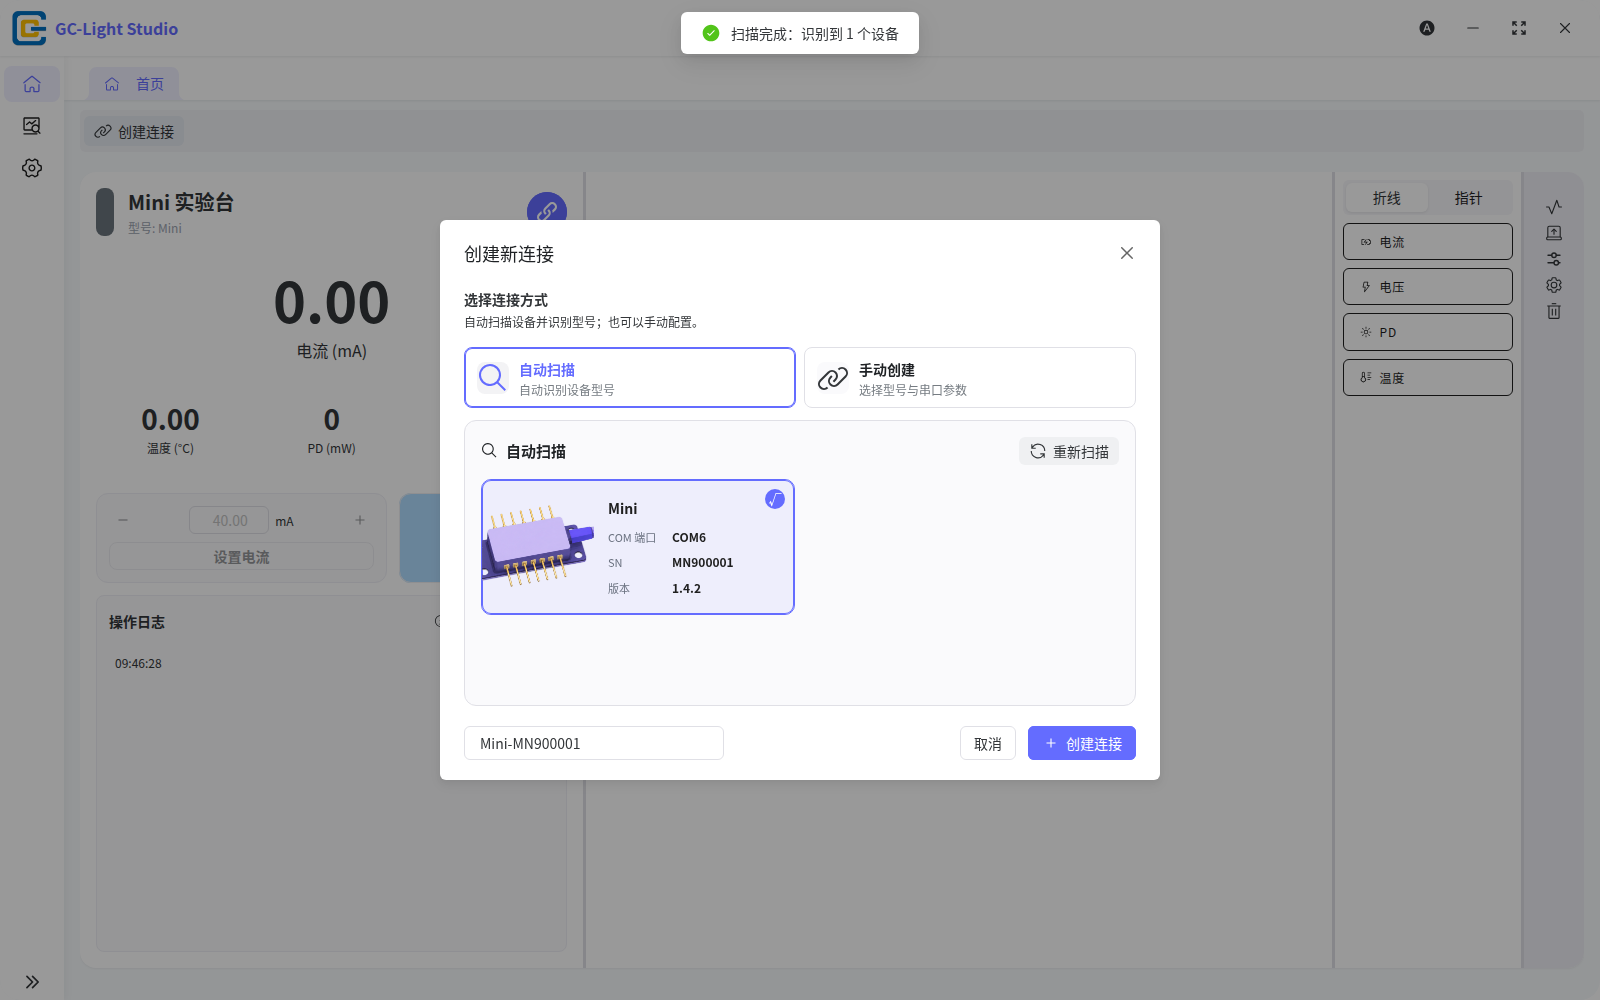
If scanning finds nothing, switch to Manual creation, choose Mini, and select the serial port assigned by the operating system. Manual creation does not bypass a busy port or missing system permissions; resolve those conditions first.